
How to Display Metal Signs for Personalized Home Decor
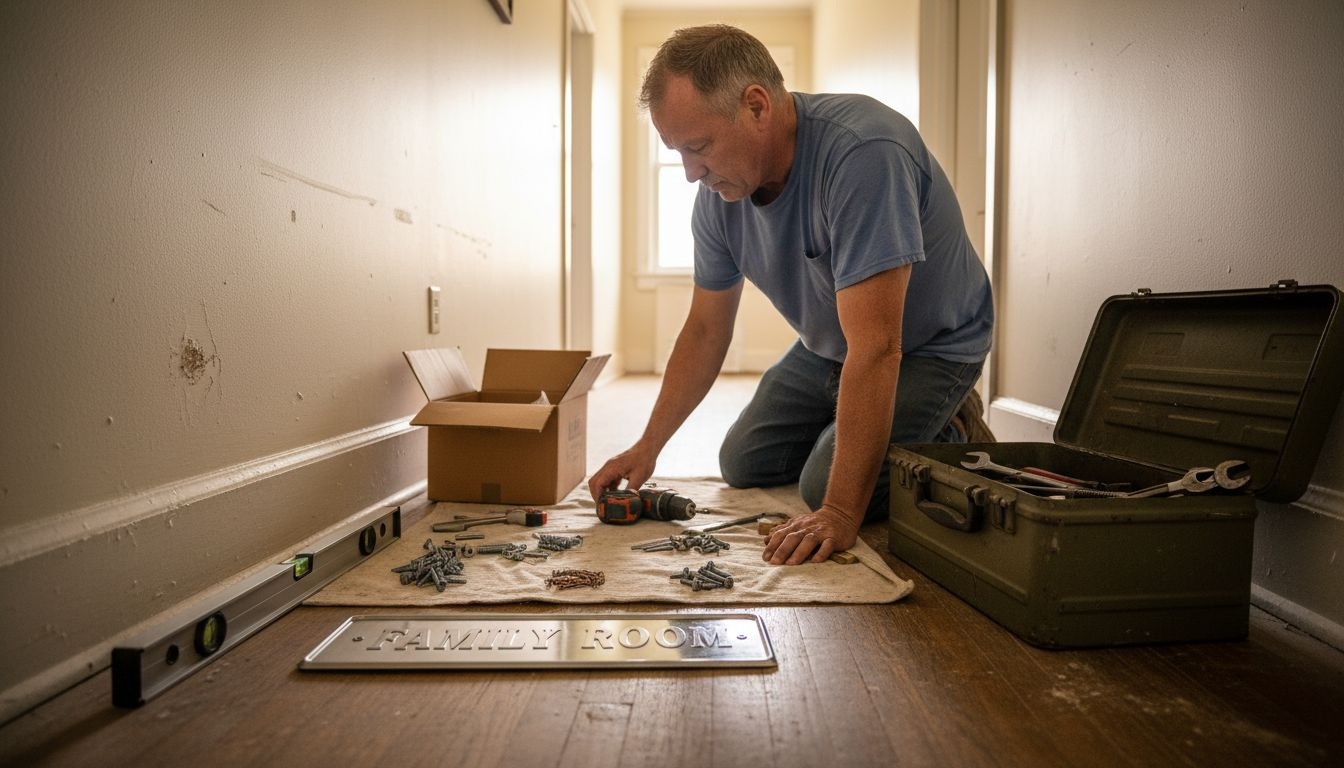
Over ninety percent of homeowners say that personalized touches completely transform a room. When you choose an American made metal sign, you do more than decorate—you tell your family’s story and create lasting memories. Finding the perfect spot in your home is key for making these gifts truly shine. Learn how simple steps and strategic placement can elevate your personalized decor, making every special occasion unforgettable.
Table of Contents
- Step 1: Assess Placement Options For Maximum Impact
- Step 2: Gather Necessary Tools And Mounting Hardware
- Step 3: Prepare Wall Surface And Position Metal Signs
- Step 4: Install And Secure Metal Signs Safely
- Step 5: Verify Stability And Refine Display
Quick Summary
| Key Point | Explanation |
|---|---|
| 1. Choose Optimal Placement | Select locations like entryways or living areas for maximum visibility of your metal sign. |
| 2. Gather Appropriate Tools | Use essential tools such as a drill, level, and suitable mounting hardware to ensure secure installation. |
| 3. Prepare Wall Surface Thoroughly | Clean and measure the wall properly to facilitate a secure and professional mount for your sign. |
| 4. Install with Precision | Drill pilot holes and align the sign carefully to avoid misalignment and ensure stability. |
| 5. Regularly Check Stability | Inspect the sign quarterly to confirm it remains securely mounted and visually appealing in your space. |
Step 1: Assess Placement Options for Maximum Impact
Personalizing metal signs requires strategic placement that transforms your space and captures attention. Understanding where to display your sign can dramatically enhance its visual impact and emotional resonance within your home decor.
When selecting the perfect spot, consider key viewing angles and traffic flow in your living space. Sign placement research indicates that perpendicular mounting creates better visibility compared to parallel positioning. Look for areas with unobstructed sightlines that allow your metal sign to become a focal point without competing with other decorative elements. High traffic areas like entryways, living room walls, or hallway transitions work exceptionally well for showcasing personalized metal signs.
Evaluate potential locations by walking through your home and imagining how the sign will interact with existing decor. Factors like natural lighting, wall color, and surrounding furniture can dramatically influence how your metal sign will be perceived. Test different positions by holding the sign against various walls and observing how it catches light and complements your room’s aesthetic. Consider hanging the sign at eye level for maximum visual engagement and ensuring it remains proportional to the wall space.
Pro tip: Use painter’s tape to outline your sign’s potential placement before mounting, helping you visualize the final positioning without making permanent marks.
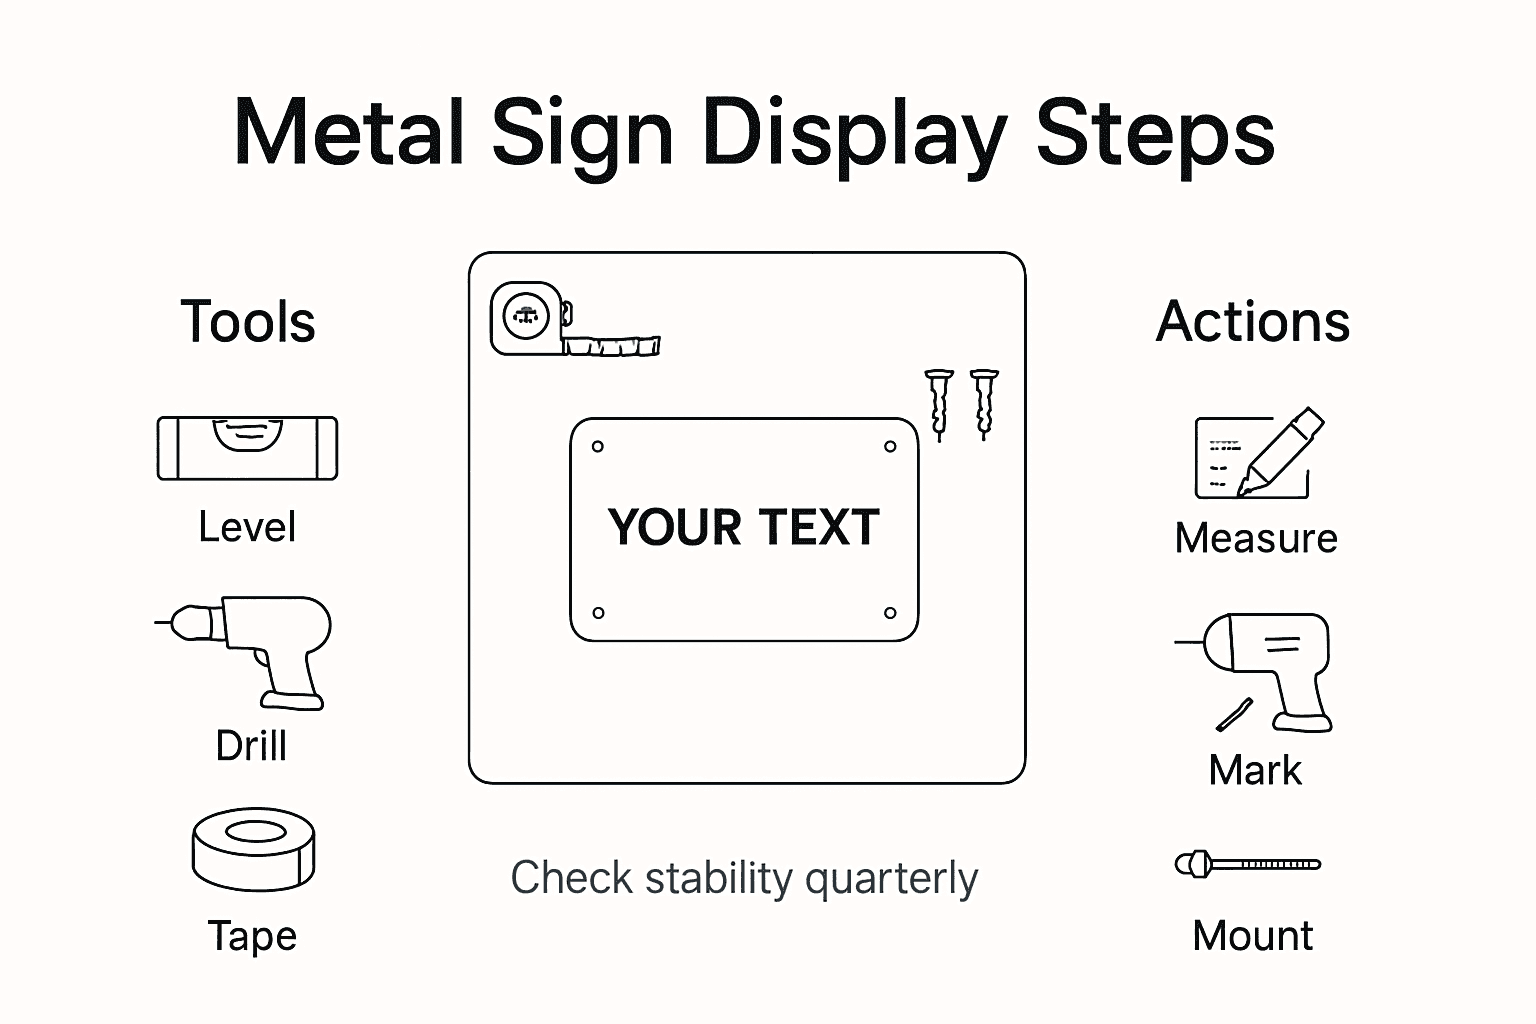
Step 2: Gather Necessary Tools and Mounting Hardware
Before transforming your personalized metal sign into a stunning home decor piece, youll need to assemble the right tools and hardware for a secure and professional installation. Proper preparation ensures your sign will look fantastic and remain safely mounted.
Technical guidelines from architectural metal manufacturers recommend collecting several essential tools for successful sign mounting. Your toolkit should include an electric drill, adjustable pliers, a reliable level, measuring tape, pencil, and appropriate mounting hardware like wall anchors, screws, and brackets. The specific hardware will depend on your wall type wall surface material such as drywall, brick, or concrete requires different anchor styles to ensure maximum stability.
Carefully select mounting hardware that matches your signs weight and dimensions. Stainless steel or galvanized screws work best for most interior applications, providing corrosion resistance and long term durability. If your sign is particularly heavy, consider using multiple mounting points to distribute weight evenly and prevent potential wall damage. Always check the weight specifications of your chosen mounting hardware and compare them against your signs actual weight.
Here’s a quick comparison of common metal sign mounting surfaces and the best hardware options for each:
| Wall Surface Type | Ideal Mounting Hardware | Key Considerations |
|---|---|---|
| Drywall | Anchors, studs, screws | Avoid overloading, use stud finder |
| Brick | Masonry screws, anchors | Pre-drill holes, handle weight carefully |
| Concrete | Concrete anchors, screws | Use an impact drill, check hardware rating |
| Plaster | Toggle bolts, anchors | Drill gently, avoid cracking surface |
Pro tip: Invest in a stud finder to locate wall studs which provide the most secure mounting surface for heavier metal signs.
Step 3: Prepare Wall Surface and Position Metal Signs
Now that youve gathered your tools and selected the perfect placement, its time to prepare the wall surface for your metal sign installation. A clean and properly prepared surface ensures a secure and professional looking display.
Safety guidelines recommend thoroughly cleaning the wall surface to remove dust, grease, and any potential debris that might interfere with mounting. Start by wiping the area with a clean microfiber cloth to eliminate loose particles. For surfaces with stubborn grime, use a mild cleaning solution appropriate for your wall type drywall, plaster, or brick each requires a specific approach to prevent damage.
Precision is key when positioning your metal sign. Use your level to mark perfectly straight horizontal and vertical lines where the sign will be mounted. Double check your measurements and consider using painter’s tape to create a temporary outline of the sign’s placement. This allows you to step back and visually confirm the positioning before making any permanent marks. When youre satisfied with the placement, carefully mark the exact drill points, ensuring they align with your sign’s mounting hardware and provide the most stable support.
Pro tip: Create small paper templates of your sign to test positioning and visualize the final look before making any permanent wall markings.
Step 4: Install and Secure Metal Signs Safely
With your wall surface prepared and mounting points marked, youre ready to bring your personalized metal sign to life. Installing your sign requires precision and care to ensure a secure and professional finish.
Sign installation safety guidelines emphasize the importance of carefully drilling pilot holes at your marked points. Choose a drill bit slightly smaller than your mounting screws to create a clean, stable anchor. Insert wall anchors if youre not drilling directly into a stud, ensuring they are rated for the sign’s weight. When drilling, maintain a steady hand and apply consistent pressure to prevent wall damage or misaligned holes.
Carefully align your metal sign with the pre drilled mounting points, using your level to confirm perfect positioning. Begin by loosely inserting screws to allow for final adjustments. Once youre confident the sign is perfectly straight and level, gradually tighten the screws evenly to prevent warping or uneven pressure. Check the sign’s stability by gently testing its mount after installation. If any movement is detected, double check your screw tension and anchor placement to ensure a rock solid installation.
Pro tip: Keep a clean cloth nearby to wipe away any dust or marks from the wall and sign during installation to maintain a pristine final appearance.
Step 5: Verify Stability and Refine Display
With your metal sign now mounted, the final step involves ensuring its long term stability and aesthetic perfection. This careful review process transforms your installation from simply hung to professionally displayed.
National safety standards recommend conducting a comprehensive stability check immediately after installation. Gently test the sign by applying light pressure at different points to confirm it doesnt wobble or shift. Examine the mounting points closely for any signs of stress or uneven tension. Use your level once more to verify that the sign remains perfectly straight and hasnt settled at an unexpected angle during the initial mounting process.
Step back and view your sign from multiple angles and distances to assess its visual impact. Natural lighting can reveal subtle imperfections in positioning or alignment that might not be immediately apparent. If you notice any minor adjustments are needed, carefully loosen the mounting screws and make precise realignments. Pay special attention to how the sign interacts with surrounding decor, ensuring it complements rather than competes with other design elements in the room. The goal is a seamless integration that draws the eye without overwhelming the space.
Pro tip: Schedule a quarterly visual inspection to catch any potential mounting wear or subtle shifts before they become significant issues.
The table below summarizes essential steps to ensure your metal sign remains secure and visually appealing over time:
| Step | Stability Action | Visual Check Tip |
|---|---|---|
| After Installation | Test for movement/stress | Use level for alignment |
| Ongoing | Inspect hardware quarterly | Check lighting and decor |
| Adjustment | Tighten or reposition screws | Confirm viewing angles |
| Long-term | Replace worn components | Refresh wall cleanliness |
Elevate Your Home Decor With Personalized Metal Signs
Are you ready to turn your walls into a meaningful story that captures attention and resonates emotionally? Displaying metal signs effectively takes thoughtful placement, proper mounting, and a personalized touch that reflects your unique style. At FunLifeNow, we understand the challenge of creating home accents that not only look stunning but also carry personal significance. Our collection of Dog Metal Wall Decor Art Personalized - 30 Dog Breeds offers beautifully crafted metal signs designed to fit perfectly in your living spaces, combining quality American craftsmanship with your personal story.

Explore our range now at FunLifeNow and experience an easy, step-by-step customization process that ensures your metal sign complements your home’s aesthetic. Why wait? Find the perfect size and design that matches your vision and enjoy seasonal offers tailored for thoughtful gifts and lasting memories. Start transforming your home today with personalized decor that speaks directly to your heart.
Frequently Asked Questions
How do I choose the best location to display my metal sign?
Choosing the best location involves considering key viewing angles and traffic flow in your home. Look for high-traffic areas like entryways or living rooms, and test different positions by holding the sign against various walls to see how it interacts with your decor.
What tools do I need to mount a metal sign securely?
To mount your metal sign securely, gather an electric drill, adjustable pliers, a level, measuring tape, pencil, and appropriate mounting hardware like anchors and screws. Ensure the hardware matches your wall type and the weight of your sign for a stable installation.
How can I ensure that my metal sign is level after installation?
To ensure that your metal sign is level, use a level tool while installing it and check alignment before tightening screws. You can adjust the screws if necessary to maintain a straight appearance, which enhances the overall look of your decor.
What steps should I take to prepare the wall surface for my metal sign?
Prepare the wall surface by cleaning it thoroughly to remove dust and grease, which can affect mounting. Use a cloth and, if needed, a mild cleaning solution appropriate for your wall type to ensure a secure and clean surface.
How often should I check the stability of my mounted metal sign?
It is recommended to check the stability of your mounted metal sign quarterly to catch any potential issues early. Look for any signs of stress on the mounting hardware and use a level to confirm it remains straight and secure in its position.
Can I use painter’s tape to help with positioning my metal sign?
Yes, painter’s tape can be a helpful tool for visualizing the sign’s placement before mounting. Outline the expected position on the wall with tape to examine how it fits with surrounding decor before making any permanent marks.