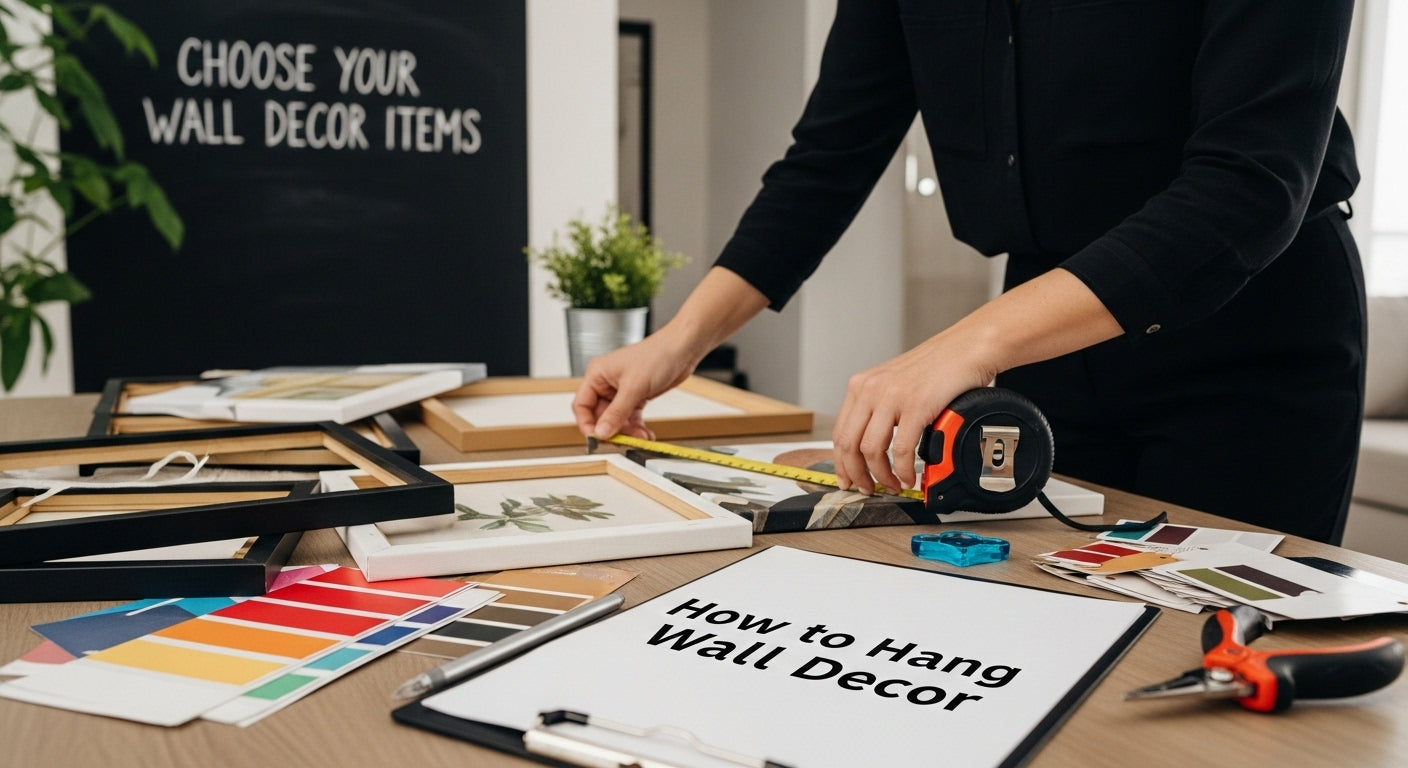
How to Hang Wall Decor: Stylishly Personalize Your Home
Wall decor turns a house into a home and it is more powerful than most people think. Studies find that personal design choices directly impact how happy and connected we feel in our living spaces. Most people just hang something up and hope it looks good but your walls could tell a much deeper and more meaningful story if you choose with intention.
Table of Contents
- Step 1: Choose Your Wall Decor Items
- Step 2: Measure Your Space And Plan Layout
- Step 3: Gather Necessary Tools And Supplies
- Step 4: Mark Placement On The Wall
- Step 5: Install Hardware And Hang Decor
- Step 6: Adjust And Ensure Proper Alignment
Quick Summary
| Key Point | Explanation |
|---|---|
| 1. Choose decor that complements your space | Select wall decor that aligns with your room’s colors, style, and natural lighting for a cohesive look. |
| 2. Measure and plan your layout precisely | Accurate measurements prevent overcrowding and ensure your decor is intentionally arranged, enhancing visual appeal. |
| 3. Use the right tools for installation | Gather necessary tools like a level, drill, and picture hanging hardware to ensure secure and damage-free mounting. |
| 4. Mark placements before hanging | Take careful measurements and use templates to visualize placement, avoiding permanent mistakes on your walls. |
| 5. Verify alignment and spacing after hanging | Adjust artwork for perfect alignment, ensuring visual balance and a professionally curated appearance in your space. |
Step 1: Choose Your Wall Decor Items
Choosing the right wall decor transforms your living space from ordinary to extraordinary. This critical first step sets the foundation for creating a personalized, visually compelling environment that reflects your unique style and personality.
Begin by surveying the room and understanding its existing color palette, architectural elements, and overall aesthetic. Your wall decor should complement rather than compete with the space. Consider the room’s natural lighting, wall color, and furniture style when selecting pieces. Some homeowners prefer a cohesive look with matching frames and themes, while others embrace an eclectic mix of styles that tells a richer personal story.
Start by gathering potential decor items that resonate with your emotional landscape. This might include family photographs, vintage art prints, custom metal signs, canvas pieces, or personalized wall art collections that capture meaningful moments. According to research from Penn State University, personal decor elements significantly impact how we experience and connect with our living spaces.
When selecting wall decor, consider these key factors: size, color harmony, and emotional significance. A large statement piece can anchor a room, while a gallery wall of smaller items creates visual interest. Measure your wall space precisely before purchasing to ensure proper fit and proportion. Mix textures and mediums for depth potential combinations include metal signs with canvas prints, or framed photographs alongside abstract art.
Remember that wall decor is more than decoration it’s a form of personal storytelling. Choose pieces that spark joy, trigger memories, or inspire you daily. Whether you prefer minimalist designs or bold, vibrant statements, your wall decor should ultimately make you feel at home.
Step 2: Measure Your Space and Plan Layout
Measuring your space and planning your wall decor layout is a crucial step that transforms random artwork into a deliberate, cohesive design. This process ensures your wall decor looks intentional and professionally arranged, preventing common mistakes like overcrowding or awkward spacing.
Start by gathering essential tools: a metal tape measure, a pencil, painter’s tape, and a laser level or traditional spirit level. Measure your wall’s entire width and height precisely, recording exact dimensions. When arranging wall art, consider the room’s architectural features like windows, doors, and furniture placement. According to research from the New York Institute of Art and Design, aligning artwork with room geometry creates visual harmony.
Next, create a layout strategy. For gallery walls, arrange pieces on the floor first to experiment with configurations before hanging. Use painter’s tape to outline potential artwork placement directly on the wall, which allows you to visualize the final arrangement without making permanent marks. Pro tip: Maintain consistent spacing between pieces, typically 2 to 3 inches, to create a professional look.
Consider the visual weight and balance of your pieces. Larger statement pieces work well as focal points, while smaller artworks can fill surrounding spaces. If you’re mixing different sizes and styles, place larger items at the center or bottom of your arrangement to anchor the display. For rooms with asymmetrical walls or unusual architectural features, flexible arrangements that adapt to the space’s unique characteristics work best.
By the end of this step, you should have a clear, measured plan for your wall decor, with tape outlines or preliminary markings showing exactly where each piece will hang. This preparation minimizes errors and ensures a polished, intentional result that reflects your personal style.
Step 3: Gather Necessary Tools and Supplies
Successful wall decor hanging requires more than just creativity it demands precision and the right equipment. Gathering your tools beforehand streamlines the entire process, preventing frustrating interruptions and potential wall damage. Think of this step as preparing for a home improvement mission where preparation is half the battle.
According to research from the University of Nebraska–Lincoln Extension, having the correct tools is essential for safe and accurate installation. Your core toolkit should include:
- Metal tape measure (minimum 25 feet long)
- Pencil with a sharp point
- Laser level or traditional spirit level
- Hammer
- Assorted picture hanging hardware
- Step stool or sturdy ladder
- Electric drill with appropriate drill bits
- Wall anchors for different wall types
- Stud finder
- Protective work gloves
Before beginning, assess your wall type and the weight of your decor. Drywall, plaster, and concrete require different hanging techniques and hardware. Pro tip: Always choose hanging hardware rated for slightly more weight than your artwork to ensure maximum safety. Lightweight pieces under 5 pounds can typically use simple picture hooks, while heavier items necessitate wall anchors or finding wall studs.
Consider investing in a personalized wall art hanging kit that includes multiple hardware options. Different rooms and wall surfaces demand versatile solutions. For instance, ceramic tiles in kitchens or bathrooms require specialized anchors that prevent cracking, while wooden walls in rustic settings might need different mounting techniques.
As you gather your supplies, organize them in a portable container or toolbox. This keeps everything accessible and prevents last minute scrambling. Test your tools beforehand checking that your level is accurate, your drill battery is charged, and your measuring tape is in good condition.
Here is a summary of all the essential tools and supplies you should have ready before starting to hang your wall decor.
| Tool/Supply | Purpose | Tips/Notes |
|---|---|---|
| Metal tape measure | Accurately measure wall and artwork dimensions | Use minimum 25-foot tape for flexibility |
| Pencil (sharp point) | Mark placement on the wall | Make light, erasable marks |
| Laser/spirit level | Ensure precise horizontal and vertical alignment | Always double-check level for large groupings |
| Hammer | Install picture hooks or nails | Use gently; prevent wall damage |
| Assorted picture hardware | Mount artwork securely | Match hardware to item weight and wall type |
| Step stool/ladder | Safely reach higher sections of the wall | Choose sturdy, stable step stool for safety |
| Electric drill | Drill pilot holes for anchors | Use with appropriate drill bits for wall material |
| Wall anchors | Secure heavier items, especially on drywall | Match anchor type to wall material (drywall, plaster, tile) |
| Stud finder | Locate wall studs for heavier installations | Mount directly into studs for maximum support |
| Protective work gloves | Protect hands during installation | Especially important for handling heavy or sharp-edged decor |
Step 4: Mark Placement on the Wall
Marking wall placement is the precision stage where your carefully planned design comes to life. This critical step transforms your visual concept into tangible reference points that will guide your entire hanging process. Accuracy here prevents costly mistakes and ensures your wall decor looks professional and intentionally arranged.
Begin by double-checking your measurements from the previous planning stage. Use a laser level or traditional spirit level to create perfectly horizontal reference lines, which serve as your primary alignment guide. According to research from the Millvale Community Library, maintaining level lines is crucial for a polished final display.
For gallery walls or multiple piece arrangements, create a paper template method. Trace each piece onto kraft paper or butcher paper, cut out the shapes, and use painter’s tape to temporarily position these on the wall. This technique allows you to visualize the final arrangement without making permanent marks. Pro tip: Stand back and photograph your paper layout to review the design from different perspectives.
Mark precise hanging points using a sharp pencil, making light, erasable marks. For pieces with wire hangers, measure the distance from the top of the frame to the wire’s highest point when stretched. For items with D-rings or specific mounting brackets, mark exactly where the hardware will connect to wall anchors. Explore our comprehensive wall art arrangement guide for additional visualization techniques.
Verify your markings by:
- Checking horizontal alignment with a level
- Measuring equal distances between pieces
- Ensuring marks correspond precisely to your original layout plan
- Standing at different distances to confirm visual balance
Take your time during this stage. Rushing can lead to misaligned artwork or unnecessary wall damage. Remember, the marks you make now are the foundation for transforming your blank wall into a personalized, artistic expression of your style.
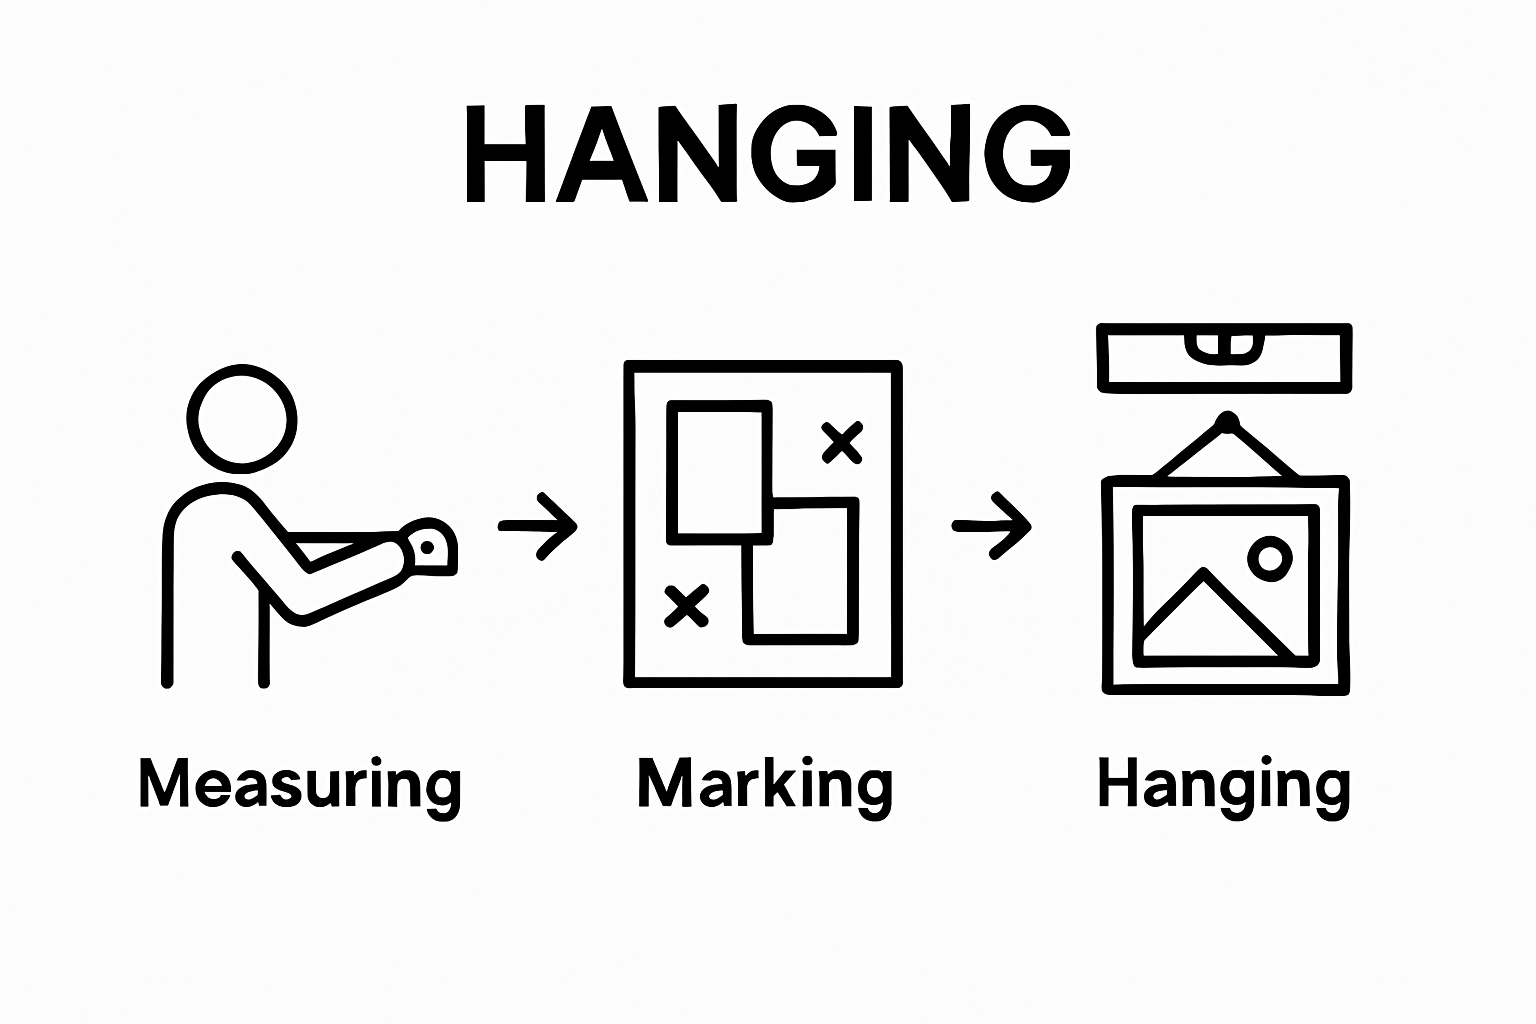
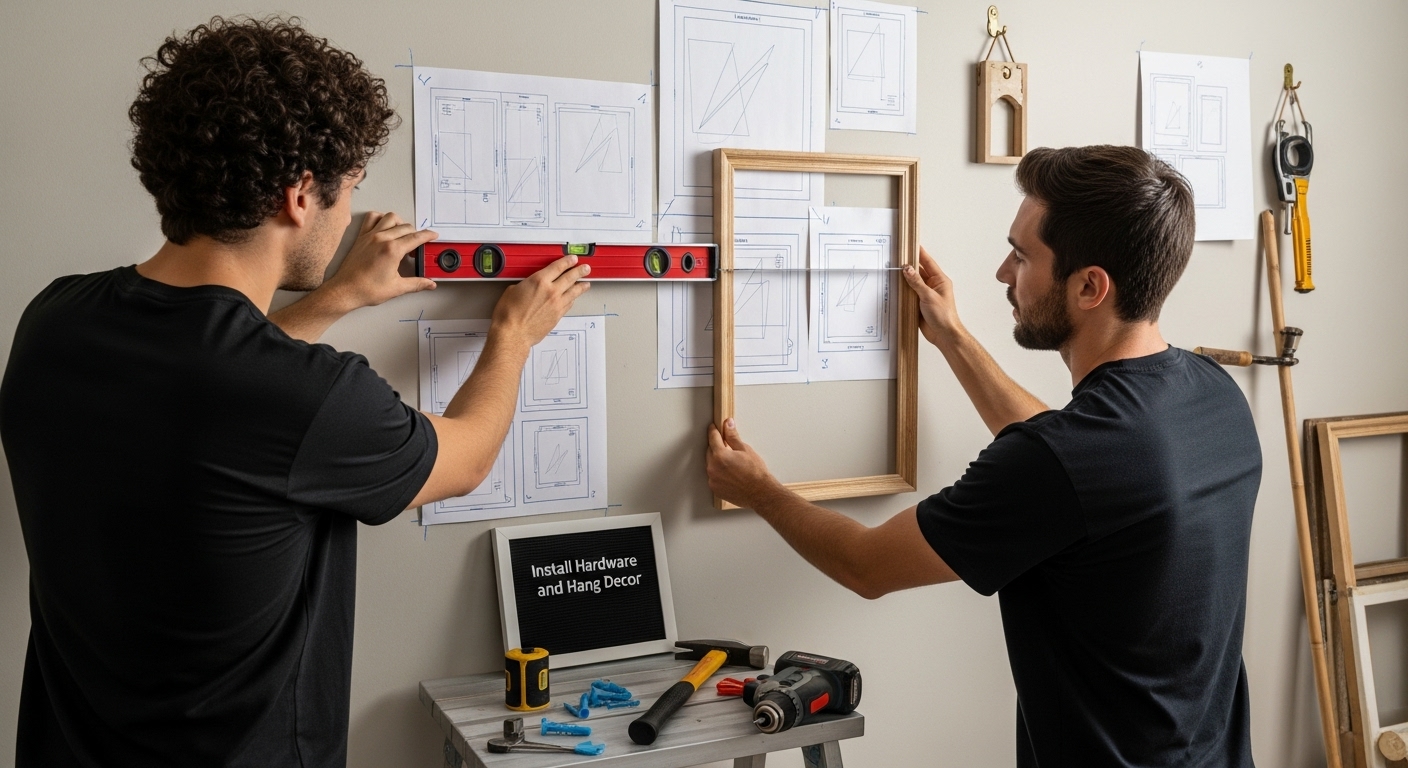
Step 5: Install Hardware and Hang Decor
Installing hardware and hanging your wall decor is the moment where precision meets creativity. This step transforms your carefully planned layout into a stunning visual display that reflects your personal style. The key is to work methodically, ensuring each piece is securely and beautifully mounted.
According to research from the Smithsonian Institution, selecting the right hardware is crucial for safe and stable installation. Begin by identifying the wall type drywall, plaster, brick, or concrete each requires a specific approach. For drywall, use wall anchors that match the weight of your decor. Lighter pieces under 5 pounds can use simple picture hooks, while heavier items demand more robust mounting solutions like toggle bolts or molly anchors.
Drill pilot holes at your marked locations with a drill bit slightly smaller than your screw or anchor. For maximum stability, locate and use wall studs whenever possible. Pro tip: A stud finder helps you identify these sturdy vertical wood supports behind the wall surface. When mounting directly into studs, you can typically support heavier items without additional anchoring hardware.
Carefully insert your chosen hardware, whether it’s picture hooks, wall anchors, or screw-in brackets. Explore our comprehensive wall art installation guide for additional detailed techniques. Gently but firmly tap or screw each piece into place, ensuring they sit flush against the wall and can support the intended weight.
Before hanging your full piece, do a final check:
- Verify hardware is level and secure
- Test the holding strength with gentle pressure
- Confirm all mounting points are correctly aligned
- Double-check that the piece hangs straight
When hanging the actual decor, have a helper support the piece while you guide it onto the installed hardware. Step back periodically to ensure alignment and make minor adjustments. The final result should be a seamless, professional-looking display that transforms your wall into a personalized artistic statement.
Step 6: Adjust and Ensure Proper Alignment
Alignment is the final touch that transforms your wall decor from simply hung to professionally curated. This critical step requires patience, a keen eye, and precision tools to ensure your artwork looks intentional and visually balanced. The goal is creating a seamless, harmonious display that feels both purposeful and effortless.
According to research from Iowa State University Extension, the center of artwork should typically be positioned at eye level, which is approximately 60 inches from the floor. However, this standard can vary depending on your room’s layout, furniture height, and personal preference. Use your laser level or traditional spirit level to verify horizontal and vertical alignment, making minute adjustments that can dramatically improve the overall aesthetic.
Pro tip: Stand at different distances and angles to assess your arrangement**. What looks perfect up close might appear slightly off from across the room. Take photographs of your layout to review objectively, as cameras can reveal alignment issues more neutrally than the human eye. If you’re working with multiple pieces, maintain consistent spacing between frames typically 2 to 3 inches to create a cohesive gallery effect.
Explore our comprehensive wall art arrangement guide for additional visualization techniques. Consider these critical alignment checks:
- Verify each piece is perfectly level
- Confirm consistent spacing between items
- Check visual balance from multiple room perspectives
- Ensure artwork height relates harmoniously to furniture below
Remember that slight imperfections can add character, but significant misalignments will disrupt the entire visual composition. If a piece feels persistently off, don’t hesitate to rehang it.
This checklist helps you verify important alignment and finishing steps after hanging your wall decor, ensuring a polished, professional result.
| Alignment Check | What to Do | Why It Matters |
|---|---|---|
| Level each piece horizontally/vertically | Use a level to adjust artwork alignment | Prevents tilted or uneven presentation |
| Maintain consistent spacing between pieces | Measure 2-3 inches between frames for gallery walls | Creates cohesive, intentional look |
| Position artwork at appropriate height | Aim for artwork center at roughly 60 inches from floor | Standard eye level for best visual experience |
| Balance arrangement with room/furniture | Step back and view from different angles | Ensures visual harmony in the space |
| Confirm mounting hardware is secure | Gently test holding strength of each hanging point | Prevents falls and future wall damage |
| Adjust for asymmetry or unique wall features | Realign as needed to complement room architecture | Accommodates atypical wall shapes |
| Rehang pieces if significantly misaligned | Don’t settle for obvious errors—make corrections | Enhances professionalism and aesthetic appeal |
The extra effort invested in precise alignment will elevate your wall decor from good to extraordinary, creating a personalized space that reflects your unique aesthetic sensibility.
Turn Your Wall Decor Vision Into Tangible Stories
You have learned that hanging wall decor is not just about placement but about transforming blank walls into a reflection of your life and cherished memories. After carefully measuring, planning, and arranging, the next challenge many face is finding meaningful art pieces that go beyond decoration and truly tell your unique story. Bringing emotional connection and personalization into your space can feel overwhelming when mass-produced options leave your walls feeling impersonal or incomplete.

Let FunLifeNow help you bridge that gap between inspiration and action. Our personalized home decor lets you customize stunning wall art, metal signs, and canvas pieces with your names, dates, quotes, and moments that matter most. Choose craftsmanship that transforms any wall into a gallery of your life’s highlights. Make your next step easy and rewarding. Discover the difference that story-driven, American-made artistry can bring by visiting FunLifeNow today and finally create walls that truly feel like home.
Frequently Asked Questions
How do I choose the right wall decor for my space?
Consider the room’s color palette, architectural elements, and overall aesthetic. Choose pieces that complement your existing decor and reflect your personal style.
What tools do I need to hang wall decor properly?
You’ll need a metal tape measure, pencil, level, hammer, assorted picture hanging hardware, drill, wall anchors, stud finder, and protective gloves to ensure a clean and safe installation.
How do I ensure my wall decor is hung straight and aligned?
Use a laser level or spirit level to create horizontal reference lines, and measure spacing consistently. Step back frequently to check alignment from different angles.
What is the ideal height for hanging artwork on the wall?
Artwork should typically be hung at eye level, around 60 inches from the floor, but consider your room’s layout and personal preference for optimal placement.