
How to personalize blankets: create unique gifts easily
Personalized blankets transform ordinary fabric into meaningful keepsakes that warm both body and heart. Whether you’re searching for a heartfelt baby shower gift or want to add a custom touch to your living room, creating a personalized blanket feels overwhelming when you don’t know where to start. This guide walks you through simple DIY methods and professional options, helping you craft blankets that tell stories, celebrate memories, and become cherished pieces in any home.
Table of Contents
- Key takeaways
- Gather your materials and choose your personalization method
- Step-by-step DIY personalization methods for blankets
- Professional personalization: options, benefits, and considerations
- Caring for your personalized blanket to preserve beauty and meaning
- Discover beautiful personalized blankets at FunLifeNow
- Frequently asked questions
Key Takeaways
| Point | Details |
|---|---|
| DIY cost savings | DIY personalization reduces costs while letting you control every design element. |
| Professional options | Professional services offer vibrant, durable designs with less learning curve but higher price. |
| Fabric choice matters | Different fabrics like fleece, sherpa, muslin, and woven affect both the personalization method and the blanket’s end use. |
| Care preserves details | Proper washing, handling, and storage help keep personalized elements intact over time. |
| Gift and decor value | Custom blankets enhance sentiment and home decor while telling a story. |
Gather your materials and choose your personalization method
Before you begin personalizing, understanding fabric options and available methods saves time and prevents costly mistakes. Key fabric choices include fleece, sherpa, muslin, and woven, each suited for different personalization methods and uses. Fleece offers softness and accepts prints beautifully, making it ideal for photo transfers and appliques. Sherpa provides exceptional warmth with its plush texture, perfect for cozy gifts. Muslin works wonderfully for lightweight baby blankets and accepts vinyl transfers smoothly. Woven blankets deliver premium textures and durability for heirloom-quality pieces.
DIY personalization methods include sewing with Heat N Bond and using HTV vinyl on muslin; professional methods include dye sublimation and embroidery. Your choice depends on budget, available time, and desired visual impact. DIY approaches cost significantly less and let you control every creative detail, but they demand patience and basic crafting skills. Professional services deliver polished, vibrant results without the learning curve.
For DIY projects, gather these essential materials: Heat N Bond or similar fusible webbing, fabric scraps in coordinating colors, stretch heat transfer vinyl for text, a Silhouette or Cricut cutter, sharp fabric scissors, an iron with temperature control, and basic sewing supplies if you plan decorative stitching. Having everything ready before starting prevents frustrating interruptions mid-project.
Choose DIY methods when you enjoy hands-on crafting, work within a tight budget, or want complete creative control over every design element. Select professional services when you need bulk orders, lack crafting experience, want photo-realistic prints, or require guaranteed durability for frequently washed items. For guidance on both approaches, explore this DIY personalized blanket guide that breaks down techniques step by step.
Pro Tip: Test your chosen method on fabric scraps first to perfect temperature settings and timing before working on your final blanket.
Step-by-step DIY personalization methods for blankets
DIY personalization puts creative power in your hands while keeping costs manageable. The sewing method using Heat N Bond creates professional-looking appliques with minimal equipment. DIY personalization steps: print design, iron Heat N Bond to fabric back, cut letters, arrange and iron on, add optional decorative stitch. Start by printing or sketching your desired design at actual size. Iron Heat N Bond to the wrong side of your fabric scraps, following package temperature guidelines carefully. Trace your letters or shapes onto the paper backing, then cut precisely along the lines. Peel away the paper backing and arrange your design on the blanket, testing placement before committing. Iron each piece firmly for the recommended time, using a pressing cloth to protect delicate fabrics. For added durability, finish with a decorative zigzag or straight stitch around each applique edge.
Heat transfer vinyl offers another accessible option, especially for names and text. Cut your design using a Silhouette or Cricut machine, ensuring you mirror text before cutting. Weed away excess vinyl carefully, leaving only your design on the carrier sheet. Preheat your iron to the vinyl manufacturer’s specified temperature. Position the design on your blanket and apply firm, even pressure for 15-20 seconds. Let it cool completely before peeling away the carrier sheet slowly. Stretch HTV works best on muslin and cotton blends, moving naturally with the fabric during use and washing.
No-sew fleece blankets are created by tying edges with personalized patches for a quick custom touch. Layer two fleece pieces with right sides facing out, then cut 1-inch wide by 4-inch long fringe strips around all edges. Tie corresponding top and bottom strips into double knots, pulling snugly but not so tight the fabric puckers. Add a personalized fabric patch in one corner using fabric glue or a few hand stitches. This method works beautifully for baby blankets and quick gifts.
Common pitfalls include cutting uneven letters, using excessive heat that scorches fabric, and skipping the test phase. Always cut slowly and precisely, especially with intricate designs. Monitor iron temperature closely, as too much heat melts synthetic fabrics while too little prevents proper adhesion. Practice on scraps until you achieve consistent results. These DIY methods create deeply sentimental pieces that recipients treasure, though they require time investment and developing basic skills. Learn more about displaying your finished work with tips on styling personalized throw blankets throughout your home.
Pro Tip: Use a rotary cutter and clear ruler for perfectly straight edges when cutting fringe for no-sew blankets.
Professional personalization: options, benefits, and considerations
Professional personalization delivers results that rival retail quality while saving you hours of crafting time. Professional services use dye sublimation for full-color photo blankets, embroidery for names/initials, and custom knitting woven into yarn; production takes 1-2 weeks. Dye sublimation transfers photographic images directly into polyester fibers using heat and pressure, creating vibrant, full-color designs that won’t crack or peel. This method excels for photo blankets featuring family portraits, pet pictures, or scenic landscapes.
Embroidery adds elegant, tactile personalization through stitched names, monograms, or simple graphics. Computerized embroidery machines ensure consistent, precise results across multiple blankets, making this ideal for wedding favors or corporate gifts. The raised texture of embroidered designs adds a premium feel that recipients immediately notice and appreciate.
Custom knit blankets weave personalized text or patterns directly into the yarn during production, creating designs that become part of the fabric structure itself. These blankets offer unmatched durability since the personalization can’t separate from the base material. Custom knit blankets last years without pilling or fading, while sublimation offers vibrant photos with some fade risk; embroidery offers durability with elegance.
| Method | Cost Range | Production Time | Best For | Durability |
|---|---|---|---|---|
| DIY Sewing | $25-$40 | 2-4 hours | Simple appliques, budget projects | Moderate with care |
| DIY HTV | $30-$45 | 1-2 hours | Names, text, simple graphics | Good with proper application |
| Dye Sublimation | $60-$100 | 1-2 weeks | Full-color photos, complex images | Good, some fade over time |
| Embroidery | $75-$120 | 1-2 weeks | Names, monograms, elegant designs | Excellent |
| Custom Knit | $90-$150 | 2-3 weeks | Heirloom pieces, text patterns | Outstanding |
Professional services cost more upfront but deliver consistent quality without requiring crafting skills or equipment investment. Expect to pay $60-$120 for professional work compared to $25-$40 for DIY embroidered options. The higher cost buys you vibrant colors, precise execution, and designs that withstand years of regular use and washing. Production timelines typically run one to two weeks, so plan ahead for gift-giving occasions.

These methods shine for important gifts like wedding presents, memorial blankets, or milestone celebrations where quality matters most. They also make sense for bulk orders where hand-making multiple blankets becomes impractical. The scalability of professional production means creating matching blankets for an entire family costs only slightly more per unit than ordering one. Discover how personalized name embroidery adds meaningful touches to any blanket style.
Caring for your personalized blanket to preserve beauty and meaning
Proper care determines whether your personalized blanket remains vibrant for decades or fades within months. Wash embroidered and printed blankets in cold water on gentle cycle and air dry to preserve personalization. Cold water prevents colors from bleeding and protects heat-sensitive designs like vinyl transfers and sublimation prints. Hot water causes fibers to swell and contract rapidly, stressing both fabric and personalization.
Avoid harsh detergents containing bleach or optical brighteners that degrade prints and fade embroidery threads over time. Choose mild, color-safe detergents formulated for delicate fabrics. Skip fabric softeners on fleece and sherpa blankets, as these products coat fibers and reduce the plush texture you’re trying to preserve. For stubborn stains, spot-treat with gentle soap before washing rather than using aggressive stain removers.
Air drying protects personalized elements far better than machine drying. High heat from dryers melts vinyl transfers, causes sublimation prints to fade faster, and can shrink natural fiber blankets unevenly. Lay blankets flat on a clean surface or hang them over a drying rack away from direct sunlight. If you must use a dryer, select the lowest heat setting and remove the blanket while still slightly damp to finish air drying.
Design quality at creation impacts longevity significantly. Low-res photos cause pixelation; use high-res originals and choose appropriate design density for fabric to prevent sinking. Always provide the highest resolution images available when ordering photo blankets, aiming for at least 300 DPI at the final print size. Pixelated images look unprofessional and degrade faster during washing. For embroidery, work with designers who understand proper stitch density for your chosen fabric weight. Too many stitches cause puckering and potential tearing, while too few create gaps that look unfinished.
Maintaining softness requires gentle handling throughout the blanket’s life. Avoid over-washing, as excessive laundering wears down any fabric faster. Wash only when truly needed rather than after every use. Store blankets in breathable cotton bags or on open shelves instead of plastic bins that trap moisture and encourage mildew. Following these blanket care instructions helps your personalized pieces remain beautiful heirlooms.
Pro Tip: Turn blankets inside out before washing to protect surface designs from friction with other laundry items.
Discover beautiful personalized blankets at FunLifeNow
Now that you understand personalization methods and care techniques, bringing your vision to life becomes the exciting next step. FunLifeNow offers expertly crafted personalized blankets that combine quality materials with meaningful customization, perfect for gifts that recipients treasure or home accents that tell your story. Browse curated collections featuring names, dates, photos, and heartfelt messages professionally applied to premium fabrics.
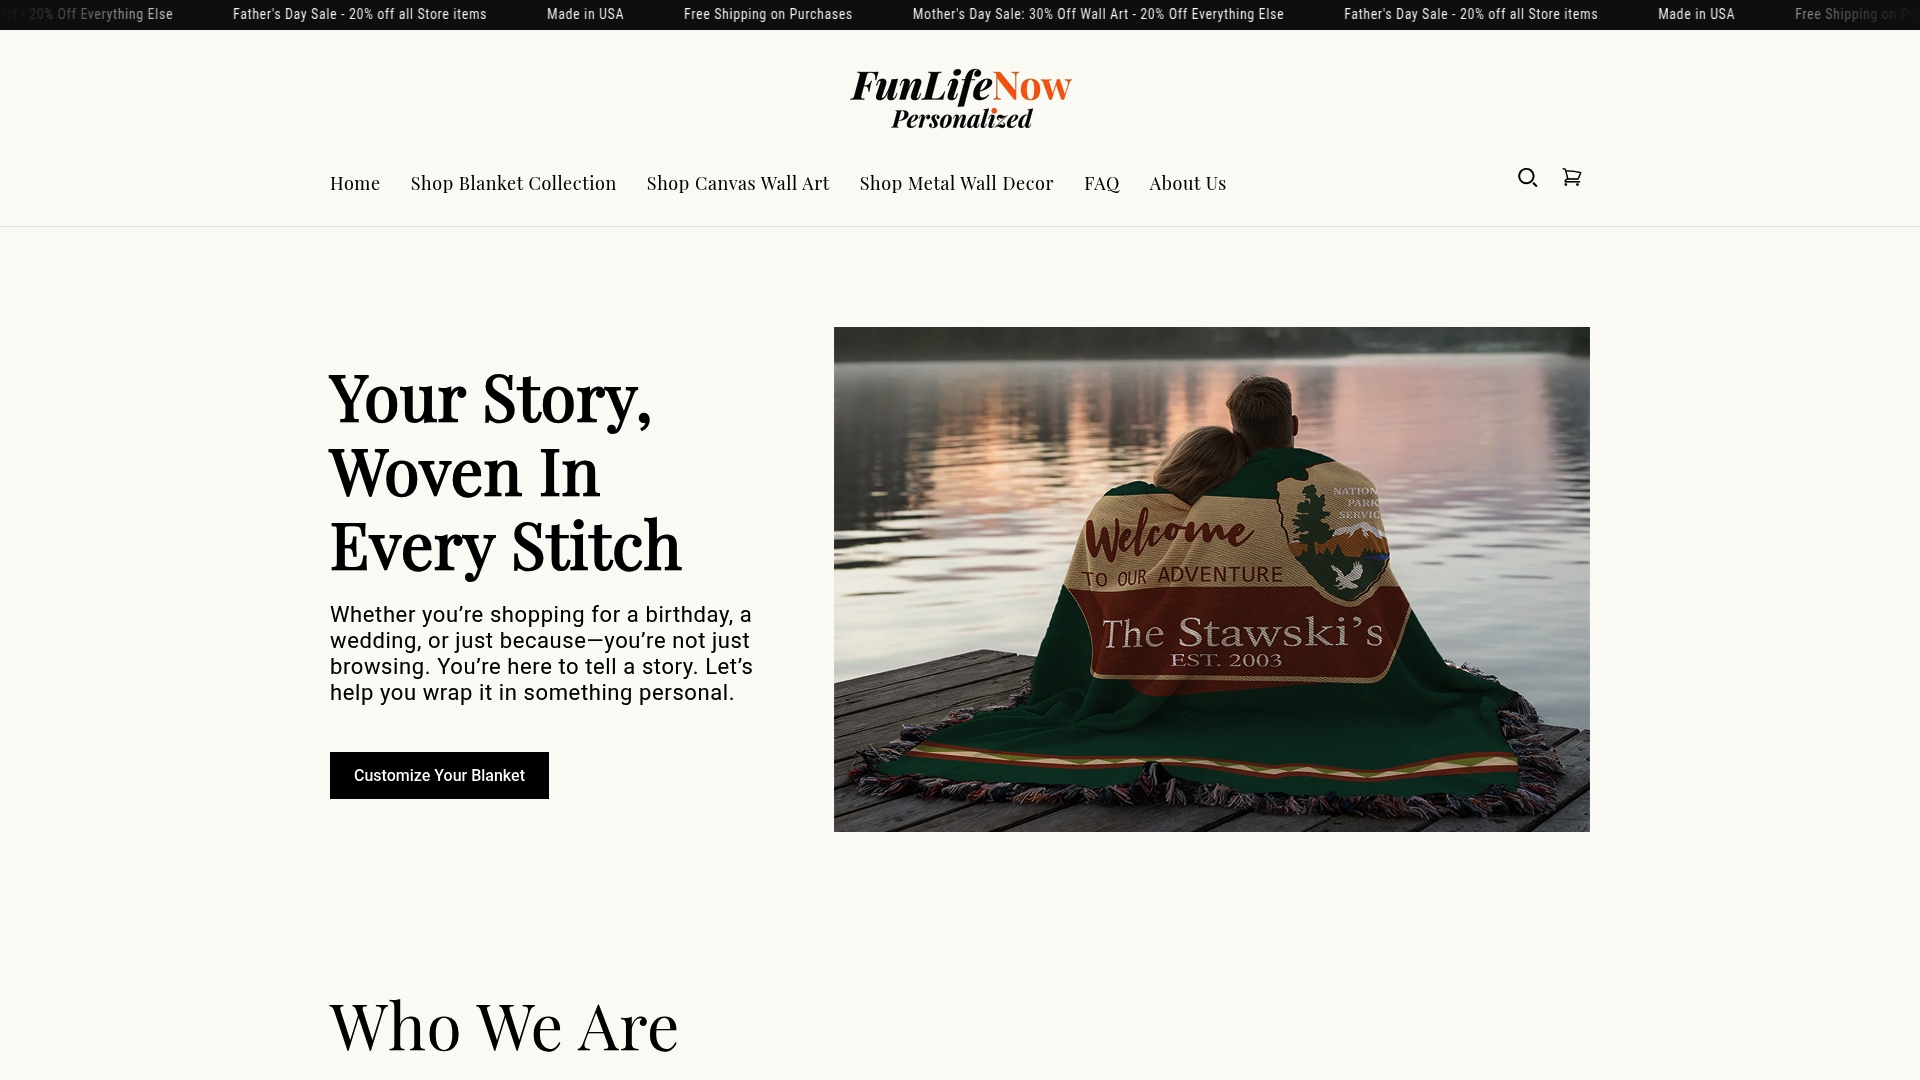
Explore the FunLifeNow homepage to discover blankets designed for every occasion, from welcoming new babies to celebrating anniversaries. Each piece reflects the craftsmanship and attention to detail that transforms ordinary blankets into extraordinary keepsakes. Find inspiration through expert guides on styling and caring for your personalized pieces, ensuring they remain beautiful for years. Visit FunLifeNow today and discover blanket decor ideas that bring warmth and personality to every room in your home.
Frequently asked questions
What is the best fabric for personalized blankets?
Fleece ranks as the most popular choice for its softness and excellent printability, accepting both vinyl transfers and sublimation beautifully. Sherpa provides superior warmth with its plush texture, ideal for cozy winter gifts. Muslin works perfectly for lightweight baby blankets and accepts heat transfer vinyl smoothly. Woven blankets deliver premium textures and durability for heirloom-quality pieces that last generations.
How durable are DIY personalized blankets compared to professional ones?
DIY blankets offer tremendous sentimental value and personal touch but typically show wear faster than professionally made pieces, especially if crafting skills are still developing. Professional blankets feature commercial-grade materials and techniques that withstand hundreds of wash cycles while maintaining vibrant colors and intact designs. The durability gap narrows when experienced crafters use quality materials and proper techniques. For everyday use and frequent washing, professional methods deliver better long-term value despite higher initial costs.
Can I personalize a blanket with photos?
Photo personalization works best through professional dye sublimation, which transfers full-color images directly into polyester fibers for vibrant, detailed prints that last years. This method captures subtle color gradations and fine details that DIY methods struggle to replicate. Always provide high-resolution images of at least 300 DPI at the final print size to avoid pixelation. Low-resolution photos produce blurry, unprofessional results that degrade quickly during washing and use.
How should I wash a personalized blanket?
Wash personalized blankets in cold water on a gentle cycle to protect both fabric integrity and design elements from heat damage and excessive agitation. Always air dry rather than using machine heat, which fades prints and melts vinyl transfers. Turn blankets inside out before washing to minimize friction against designs. Use mild, color-safe detergent without bleach or fabric softener, and avoid over-washing by cleaning only when truly necessary rather than after every use.