
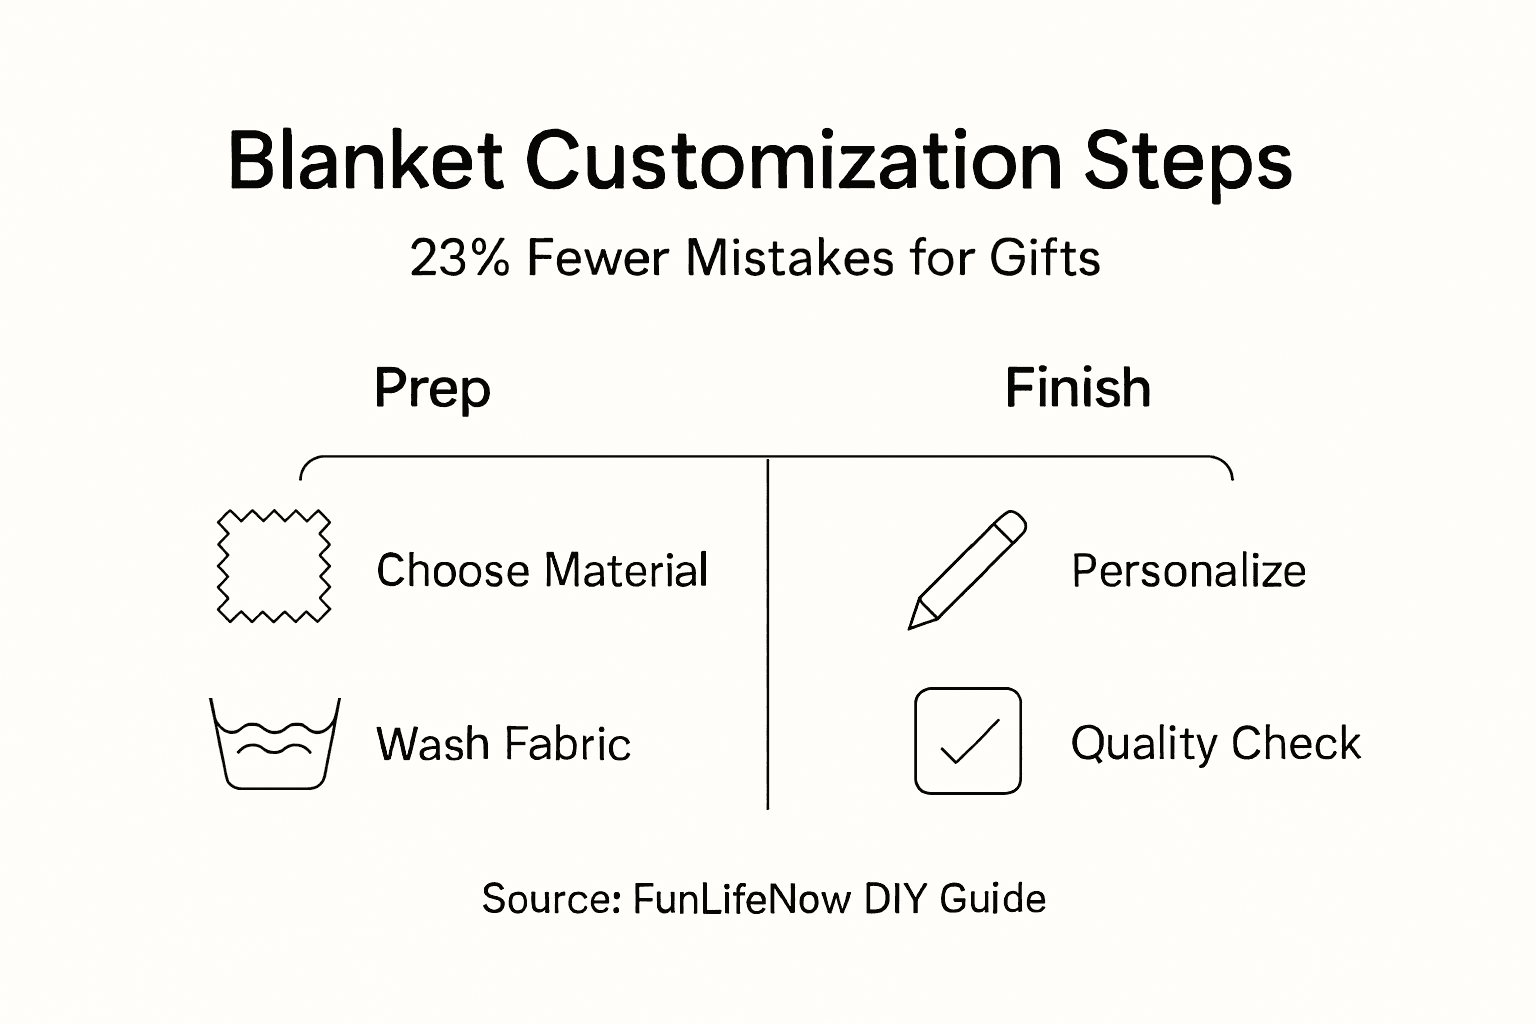
How to Customize a Blanket: 23% Fewer Mistakes for Gifts
Customizing blankets feels overwhelming without proper materials and clear steps. Many DIY weighted blankets fail because creators skip crucial safety guidelines or make fundamental mistakes in construction. Research shows that DIY weighted blankets have a failure rate of about 23% when incorrect weight distribution causes uneven filling. This guide walks you through every step to create meaningful, high-quality personalized blankets that last for years and make unforgettable gifts.
Table of Contents
- Prerequisites And Materials Needed
- Customization Steps And Techniques
- Safety Considerations And Warnings
- Common Mistakes And Troubleshooting
- Expected Timelines And Costs
- Care And Maintenance
- Discover Expert Custom Blanket Services At FunLifeNow
- Frequently Asked Questions About Custom Blankets
Key Takeaways
| Point | Details |
|---|---|
| Material selection matters | Choose fleece, cotton, flannel, or minky based on intended use and desired warmth. |
| Follow stepwise instructions | Proper measuring, cutting, layering, and sewing prevent structural failures. |
| Avoid common mistakes | Skip fabric pre-wash at your peril; uneven fills compromise safety and comfort. |
| Safety is non-negotiable | Weighted blankets require precise weight calculations and grid compartments. |
| Proper care extends lifespan | Gentle washing and correct storage preserve your custom blanket’s quality. |
Prerequisites and Materials Needed
Your fabric choice determines whether your custom blanket becomes a treasured keepsake or a disappointing failure. Selecting appropriate fabric types such as fleece, cotton, flannel, or minky is crucial depending on the blanket’s intended use and desired softness, warmth, and durability. Each fabric serves different purposes and offers distinct advantages.
Fleece provides warmth without excessive weight, making it ideal for everyday throws. Cotton offers breathability perfect for year-round use. Flannel delivers cozy softness that appeals to recipients seeking comfort. Minky fabric creates luxurious texture but requires careful handling during sewing. Understanding types of fabric for blankets helps you match materials to your recipient’s preferences and climate needs.
Standard blanket sizes guide your fabric purchases. Twin blankets measure 66x90 inches and suit single recipients. Queen sizes reach 90x90 inches for couples or larger coverage. Your chosen fabric weight affects the final feel; lightweight cotton works for summer gifts while heavyweight fleece suits winter occasions.
Essential Tools and Supplies:
- Sewing machine with appropriate needles for your fabric weight
- Embroidery kit or machine for personalization
- Fabric scissors or rotary cutter for precise cuts
- Measuring tape and fabric marking tools
- Pins or clips to hold layers during assembly
- Iron and ironing board for pressing seams
- Batting or filling material for weighted blankets
| Material Type | Best For | Average Cost per Yard |
|---|---|---|
| Fleece | Warmth and easy care | $8-12 |
| Cotton | Breathability | $10-15 |
| Flannel | Soft comfort | $9-13 |
| Minky | Luxury texture | $15-20 |
Pre-washing fabric prevents devastating shrinkage after you complete your custom blanket. Wash your fabric using the same temperature and detergent your recipient will use. This step removes manufacturing chemicals and allows natural shrinkage before cutting. Skip this preparation and watch your carefully measured blanket shrink into unusable dimensions after the first wash. Learning about best materials for blankets includes understanding fabric behavior through washing cycles.
Pro Tip: Purchase 10% extra fabric beyond your calculated needs to account for cutting errors, pattern matching, and future repairs.
Customization Steps and Techniques
Precise execution transforms raw materials into personalized treasures. Stepwise process for sewing a blanket includes pre-washing fabric, precise cutting, layering batting and fabric correctly, sewing edges with allowances, and finishing by turning and topstitching to enhance durability and appearance. Following this sequence prevents costly mistakes that waste materials and time.
Step-by-Step Assembly Process:
- Measure and mark your fabric dimensions using a fabric marker, adding 1/2 inch seam allowances on all sides.
- Cut both fabric layers and batting simultaneously to ensure perfect alignment.
- Layer your materials with right sides of fabric facing each other and batting on the outside.
- Pin all layers together every 4-6 inches, paying special attention to corners.
- Sew around the perimeter using a 1/2 inch seam allowance, leaving a 6-inch opening for turning.
- Trim corners at a 45-degree angle to reduce bulk when turned right side out.
- Turn the blanket through the opening and press all edges flat.
- Topstitch 1/4 inch from the edge around the entire blanket to close the opening and add durability.
Embroidery adds deeply personal touches that transform standard blankets into meaningful gifts. Modern embroidery machines handle names, dates, and short messages with precision. Hand embroidery offers charm for those with patience and skill. Position personalization in corners or centered on one side where recipients will see it regularly. Consider thread colors that contrast beautifully with your base fabric while maintaining readability.
Design Variations to Consider:
- Color blocking with complementary fabric panels
- Appliqué shapes or letters cut from contrasting fabrics
- Patchwork designs combining multiple coordinating prints
- Photo transfer printing for image-based personalization
- Border treatments with ribbon or decorative trim
| Technique | Skill Level | Time Required | Durability |
|---|---|---|---|
| Basic sewing | Beginner | 2-3 hours | High |
| Machine embroidery | Intermediate | 4-5 hours | Very high |
| Hand embroidery | Advanced | 8-10 hours | High |
| Photo transfer | Beginner | 3-4 hours | Medium |
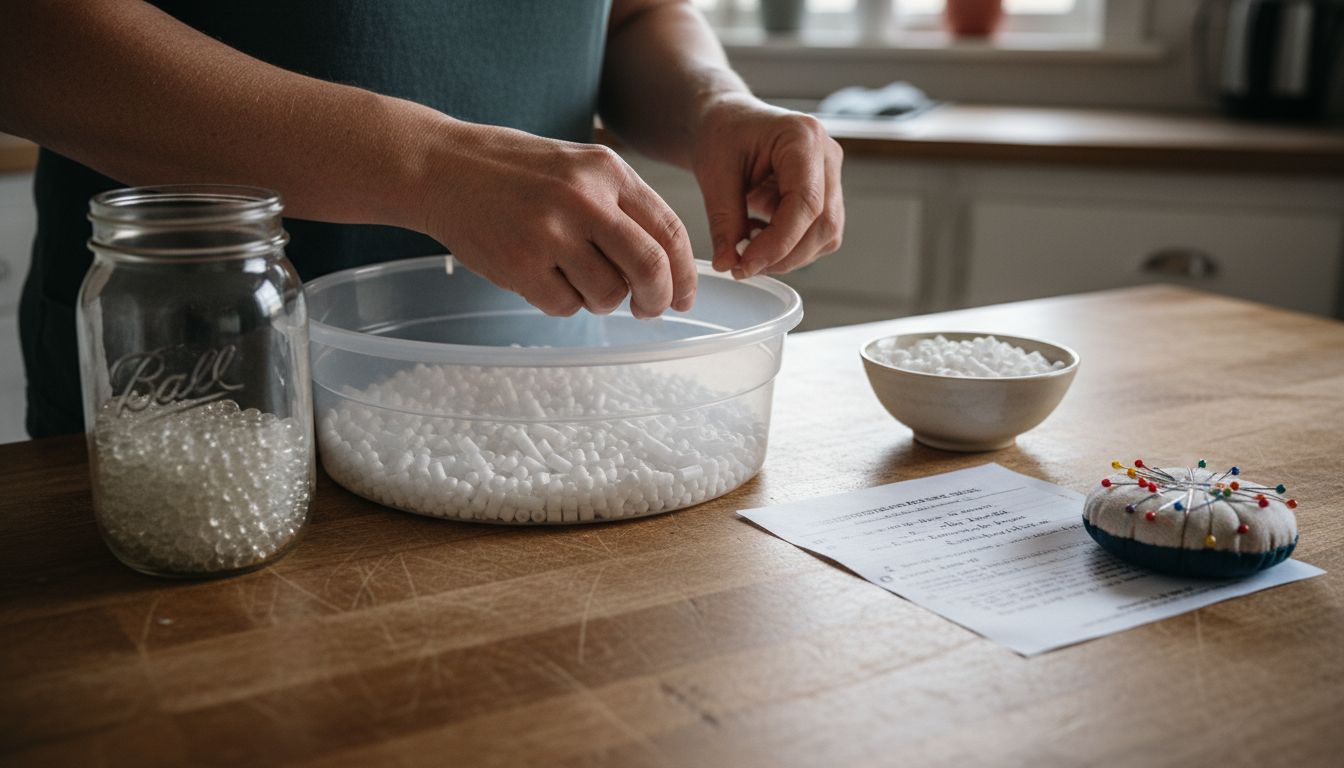
Weighted blankets require specialized construction for safety and effectiveness. Dividing weighted blankets into 7x7 inch grid compartments prevents filling clumping and ensures even weight distribution, which enhances therapeutic benefits and product durability. Create this grid by sewing straight lines across your blanket both horizontally and vertically before adding fill. Fill each compartment individually with glass beads or plastic poly pellets, then seal each section permanently.
Your filling material choice impacts the blanket’s final feel and maintenance needs. Glass beads provide weight without bulk and distribute heat evenly. Plastic pellets cost less but create more volume. Organic options like rice or dried beans work temporarily but deteriorate with washing. When learning to make personalized blankets, weighted versions demand extra attention to construction details.
Pro Tip: Test your embroidery or printing technique on fabric scraps before working on your final blanket to perfect placement, tension, and color choices.
Safety Considerations and Warnings
Safety determines whether your custom weighted blanket provides comfort or poses serious health risks. A recommended weight calculation for weighted blankets is 10% of the user’s body weight plus one pound for therapeutic effectiveness and safety. A 150-pound adult needs a 16-pound blanket maximum. Exceeding this formula creates dangerous pressure on the chest and restricts movement during sleep.
Certain individuals should never use weighted blankets regardless of proper construction. Children under two years old lack the strength to move weighted blankets off their faces if needed. Pregnant women should avoid them due to circulation concerns. People with respiratory conditions, sleep apnea, or claustrophobia experience worsened symptoms under weight. Anyone with mobility limitations might struggle to remove a weighted blanket independently during emergencies.
Critical Safety Requirements:
- Never exceed the recommended weight formula for your intended user
- Ensure all seams are double-stitched to prevent fill spillage
- Verify even weight distribution across all grid compartments
- Test the blanket yourself before gifting to vulnerable recipients
- Include care labels with weight specifications and user warnings
- Store weighted blankets flat to maintain even fill distribution
Research demonstrates tangible benefits when safety guidelines are followed correctly. Weighted blankets can reduce cortisol levels by about 31%, helping with stress relief, but require careful customization to maintain safe weight and comfort levels. These benefits disappear when construction shortcuts compromise even weight distribution or total blanket weight exceeds safe limits.
“Proper weight distribution in custom weighted blankets is not optional. Uneven filling creates pressure points that cause discomfort and potential injury. Every compartment must contain identical fill amounts for safe, therapeutic use.”
Emergency removal capability must guide your entire design process. Your recipient needs to push the blanket off quickly if they feel uncomfortable or panicked. Test this by lying under your finished blanket and practicing removal in various positions. If removal takes more than three seconds or requires significant effort, reduce the weight or modify the size. Understanding weighted blanket safety protocols protects your recipients from preventable harm.
Common Mistakes and Troubleshooting
Skipping fabric preparation causes the most frequent customization failures. Common mistakes in blanket customization include improper fabric pre-washing causing shrinkage, inconsistent seam allowances, and uneven filling distribution in weighted blankets leading to poor durability and comfort. That beautiful queen-size blanket shrinks to unusable dimensions after the first wash because you skipped the pre-wash step to save an hour. Pre-washing is mandatory, not optional.
Inconsistent seam allowances create blankets that pucker, twist, or fall apart at stress points. Maintain exactly 1/2 inch from fabric edge to stitching line around the entire perimeter. Use your sewing machine’s seam guide or mark the allowance with tape. Varying this measurement even slightly causes differential tension that warps your finished blanket. Check your seam allowance every few inches while sewing.
Frequent Problems and Solutions:
- Puckered seams: Reduce thread tension and use a longer stitch length for thick fabrics
- Shifting layers: Pin more frequently or use fabric clips designed for multiple layers
- Bunched batting: Smooth batting completely flat before pinning and stitch a grid pattern to secure it
- Wavy edges: Ensure you’re not stretching fabric while sewing; let the feed dogs do the work
- Uneven corners: Trim excess fabric at corners before turning to reduce bulk
Fill clumping in weighted blankets destroys therapeutic benefits and creates safety hazards. The 23% failure rate in DIY weighted blankets stems primarily from inadequate compartmentalization. Without proper grid construction, fills migrate to blanket edges or corners during use. This concentration creates dangerous pressure points and leaves other areas without sufficient weight. Sew your grid completely before adding any fill, and fill each compartment individually rather than attempting to distribute fill after construction.
Rushing through steps guarantees poor results that embarrass you and disappoint recipients. Quality customization requires patience at every stage. Measure twice, cut once applies literally to blanket construction. Hurrying through pinning leaves gaps that shift during sewing. Skipping the pressing step after turning creates permanently wrinkled edges that scream amateur construction. When you want to style throw blankets effectively, professional finishing details make the difference.
Pro Tip: Keep a seam ripper handy and don’t hesitate to remove and redo stitching that looks wrong. Fifteen minutes fixing a mistake beats gifting a flawed blanket that reflects poorly on your effort.
If you discover errors after completion, assess whether repair is possible or if you need to start over. Small issues like loose threads or minor puckers can be fixed with additional topstitching. Major problems like incorrect sizing, severe puckering, or uneven weighted fill require complete reconstruction. Understanding weighted blanket troubleshooting helps you identify which problems are fixable versus which demand starting fresh.
Expected Timelines and Costs
Realistic time expectations prevent frustration and help you plan gift deadlines appropriately. Estimated timelines for DIY custom blankets vary from a few hours for simple sewing projects to multiple days for quilting or weighted blankets requiring stepwise assembly. A basic fleece throw with simple embroidery takes three to four hours for someone with intermediate sewing skills. Complex weighted blankets with extensive personalization stretch across multiple days.
Your skill level dramatically impacts completion time. Beginners need double the time estimates to accommodate learning curves and mistake correction. Experienced sewers move through steps efficiently and rarely need to redo work. Factor in breaks when planning; you cannot maintain precision during marathon sewing sessions. Spread complex projects across several days to maintain quality and prevent fatigue-induced errors.
| Project Type | Beginner Time | Experienced Time | Complexity |
|---|---|---|---|
| Basic fleece throw | 4-5 hours | 2-3 hours | Low |
| Embroidered blanket | 6-8 hours | 4-5 hours | Medium |
| Weighted blanket | 2-3 days | 1-2 days | High |
| Quilted custom | 3-4 days | 2-3 days | Very high |
Material costs vary widely based on fabric choices and personalization complexity. Custom blankets commonly cost from $25 for simple fleece throws up to $300 for heavyweight, fully personalized quilts or weighted blankets according to material and design complexity. Budget accordingly to avoid mid-project surprises that force material compromises.
Cost Breakdown Examples:
- Basic fleece throw: $25-40 (fabric, thread, basic embroidery)
- Cotton personalized blanket: $50-80 (quality fabric, machine embroidery, batting)
- Weighted blanket: $120-200 (fabric, fill material, grid construction supplies)
- Luxury quilted blanket: $200-300 (premium fabrics, extensive personalization, professional finishing)
Budgeting tips help you maximize quality within financial constraints. Purchase fabric during seasonal sales when stores discount by 40-50%. Buy thread in bulk rather than individual spools. Consider joining fabric clubs that offer member discounts. For weighted blanket fills, bulk purchases of glass beads or poly pellets reduce per-pound costs significantly compared to small packages.
Professional services cost more initially but eliminate time investment and reduce failure risk. Commercial custom blanket services charge $60-150 for quality personalized throws and $150-300 for weighted options. These prices include design consultation, professional construction, and quality guarantees. Compare DIY time commitments against your available hours and skill confidence when deciding between homemade and professional options. Understanding weighted blanket timeline and cost factors helps you make informed decisions about project feasibility.
Care and Maintenance
Proper maintenance determines whether your custom blanket remains beautiful for years or deteriorates within months. Proper care for custom blankets includes gentle machine washing with mild detergents, air-drying or low-heat drying, and storage away from direct sunlight to prevent fading and fabric degradation. Harsh detergents strip fabric softness and fade embroidered designs. High heat damages batting and causes shrinkage even in pre-washed fabrics.
Wash frequency depends on blanket use patterns. Decorative throws displayed on furniture need washing every three to four months. Daily-use blankets require monthly washing to remove body oils and maintain freshness. Weighted blankets demand careful washing due to their fill material; check that your machine handles the weight safely before attempting home washing.
Washing Best Practices:
- Use cold or warm water only, never hot
- Select gentle or delicate cycle to minimize agitation
- Add mild, dye-free detergent in recommended amounts
- Skip fabric softeners that coat fibers and reduce absorbency
- Wash custom blankets separately from items with zippers or hooks that snag fabric
- Balance weighted blankets in the washer drum to prevent machine damage
Drying methods significantly impact blanket longevity. Air drying preserves fabric integrity and prevents heat-related shrinkage or damage. Hang blankets over drying racks or outdoor clotheslines away from direct sunlight. If you must use a dryer, select the lowest heat setting and remove the blanket while still slightly damp to finish air drying flat. High heat melts synthetic batting, causes cotton to shrink further, and damages embroidery threads.
Storage practices protect your investment during off-seasons. Fold blankets loosely rather than cramming them into tight spaces that create permanent creases. Store in breathable cotton bags, not plastic containers that trap moisture and promote mildew. Keep blankets away from windows where sunlight causes fading over time. For weighted blankets, store flat rather than folded to maintain even fill distribution. Learning to clean blankets naturally extends their usable life significantly.
Address minor damage immediately before it worsens. Loose threads should be trimmed close to fabric, never pulled. Small holes need immediate stitching to prevent expansion. Separated seams require re-sewing using the original seam line. For weighted blankets, any fill spillage demands complete compartment repair to maintain proper weight distribution and safety.
Pro Tip: Rotate between multiple custom blankets if you own several, allowing each to rest between uses. This practice reduces wear and extends the life of all your personalized items.
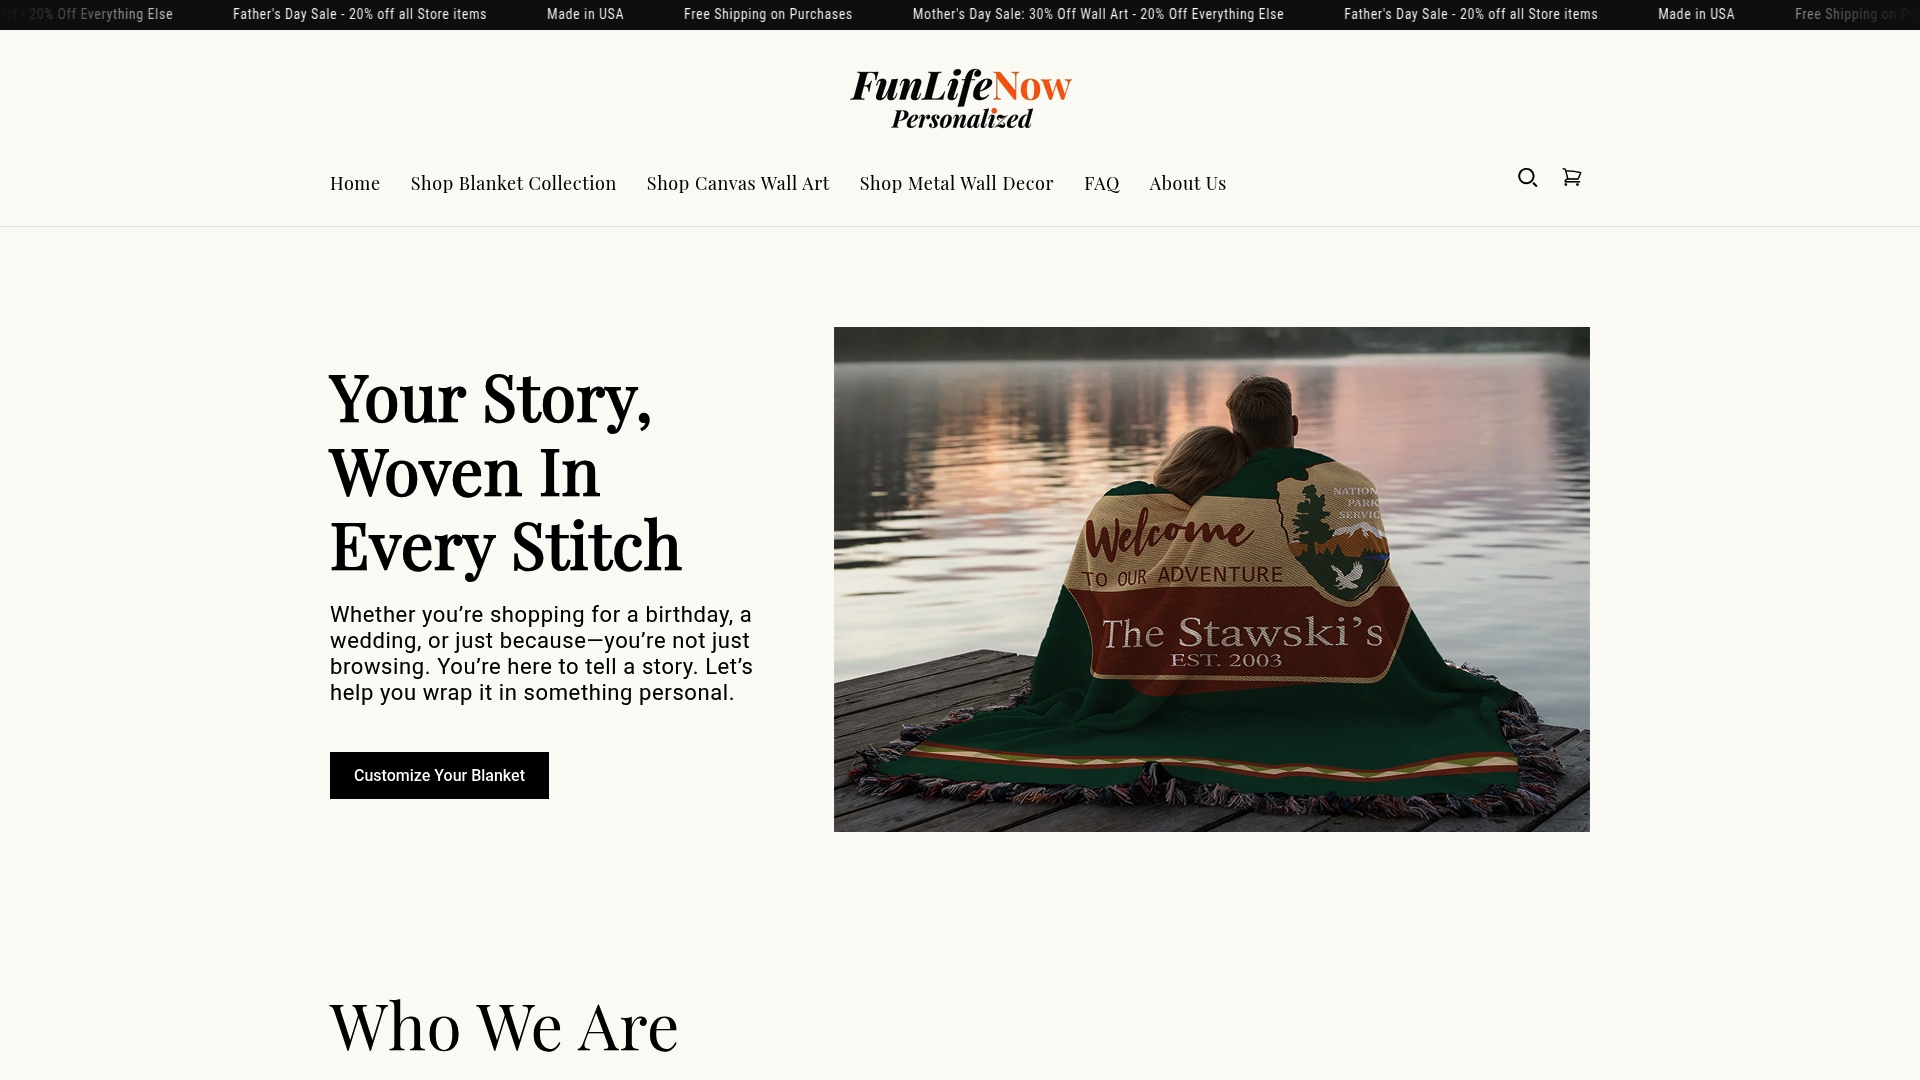
Discover Expert Custom Blanket Services at FunLifeNow
Creating custom blankets yourself builds skills but demands significant time and carries risk of costly mistakes. Professional services eliminate these concerns while delivering superior results. FunLifeNow specializes in expertly crafted personalized blankets that combine American-made quality with meaningful customization. Our team handles every detail from design consultation through final quality inspection, ensuring your gift exceeds expectations.
Our comprehensive approach to personalization means you get exactly what you envision without the frustration of DIY attempts. Choose from premium fabrics, select from professional design templates, and trust our craftspeople to execute flawlessly. Whether you need a simple embroidered throw or a complex weighted blanket, our experience guarantees safe, durable construction that recipients treasure for decades. Explore our personalized blankets guide to see the full range of customization options available. We understand that gifts must arrive on time for special occasions, so our production timelines are reliable and transparent. Skip the stress of deadline pressure and material sourcing. Browse personalized home decor ideas that complement your custom blanket gifts. Visit FunLifeNow today to start creating meaningful, professionally crafted blankets that tell your unique story.
Frequently Asked Questions About Custom Blankets
Can I customize a weighted blanket myself safely?
Yes, but only if you follow precise weight calculations and construction protocols. Use the 10% body weight plus one pound formula and create proper grid compartments to prevent dangerous fill clumping. Never attempt weighted blankets for children under two or individuals with respiratory conditions.
What fabric is best for a newborn custom blanket?
Soft cotton or organic flannel works best for newborns because these fabrics are breathable, gentle on sensitive skin, and easy to wash frequently. Avoid synthetic materials that may cause overheating or skin irritation. Pre-wash fabric multiple times to remove all manufacturing chemicals before construction.
How often should I wash my custom blanket?
Wash decorative throws every three to four months and daily-use blankets monthly using cold water and mild detergent. Weighted blankets need washing every two to three months if your machine handles the weight safely. Always air dry or use the lowest heat setting to preserve fabric quality and prevent shrinkage.
What personalization methods last the longest on blankets?
Machine embroidery provides the most durable personalization, withstanding hundreds of wash cycles without fading or damage. Professionally applied vinyl transfers also last years when properly heat-set. Avoid iron-on patches or fabric markers that fade quickly and look cheap after a few washes.